A Step By Step Guide
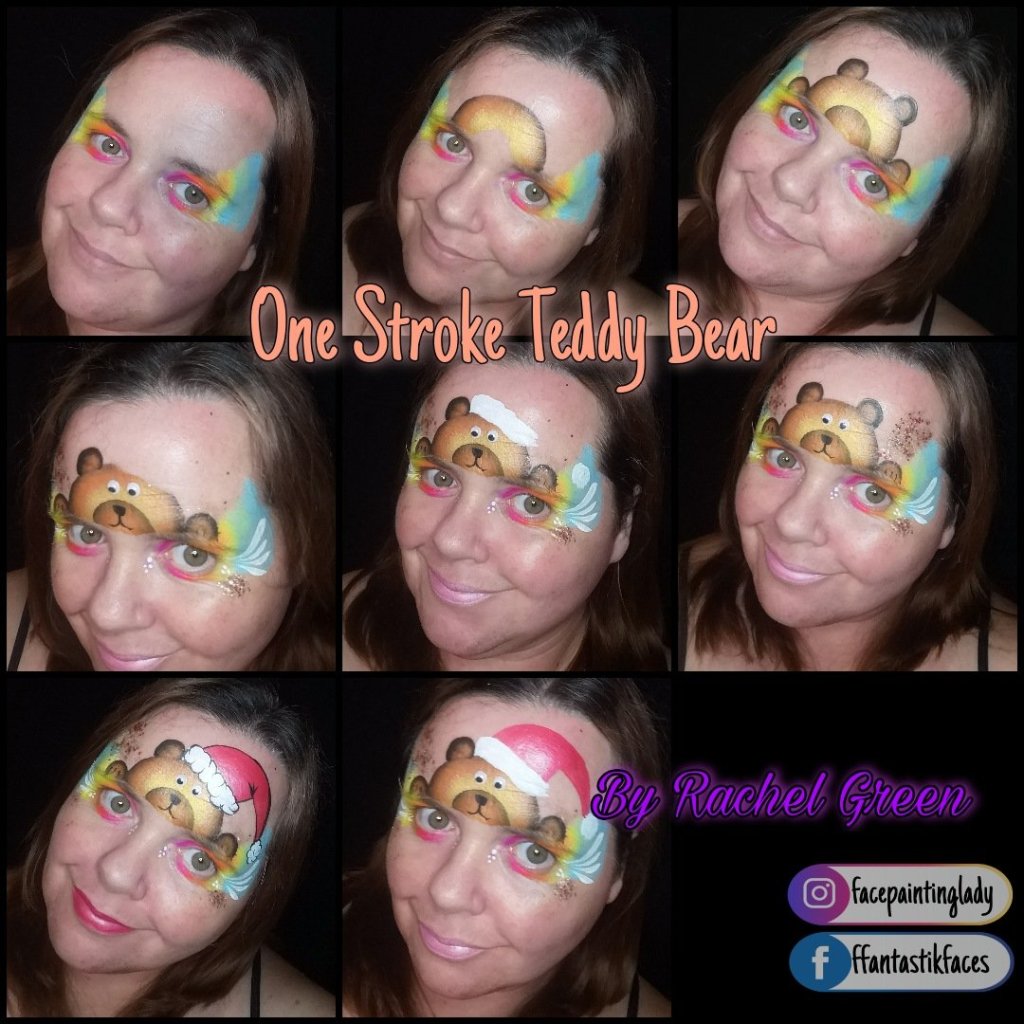
Step One; Base
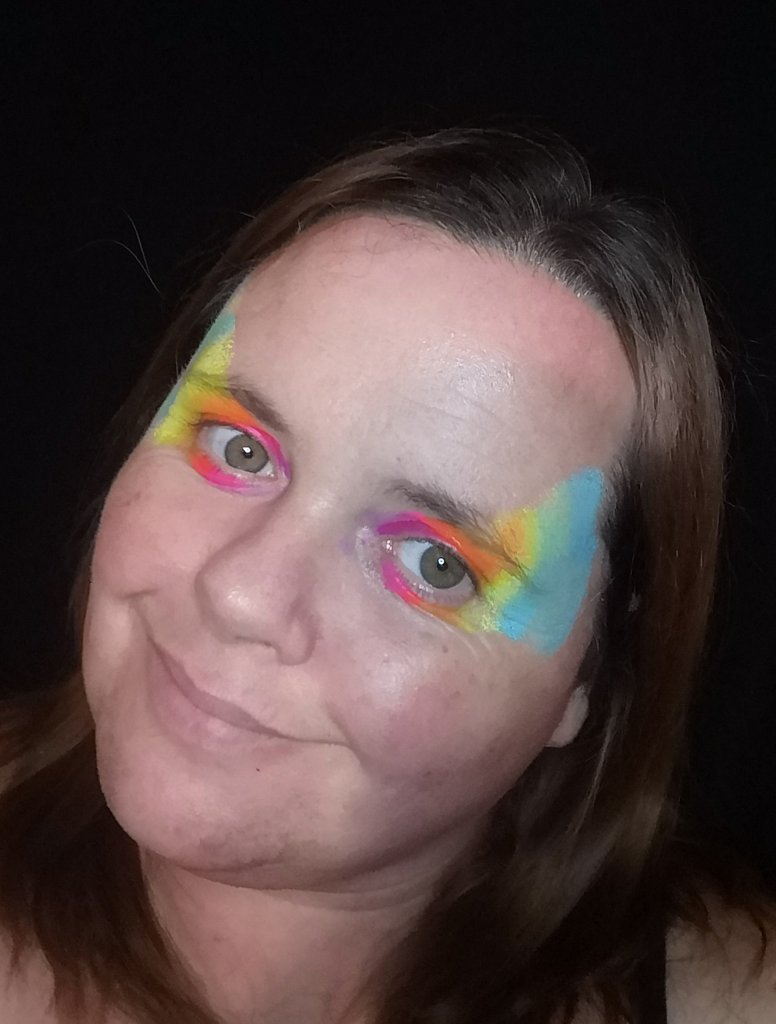
Using one of the split cakes I recommended previously, you can lay down a quick base over the eyes and bridge of the nose. If you wanted to be more suitble you could use one of the Superstar colours, which are perfect for bases! A quick poof of iridescent glitter will add the sparkle you need.
Step Two; Ted’s Head
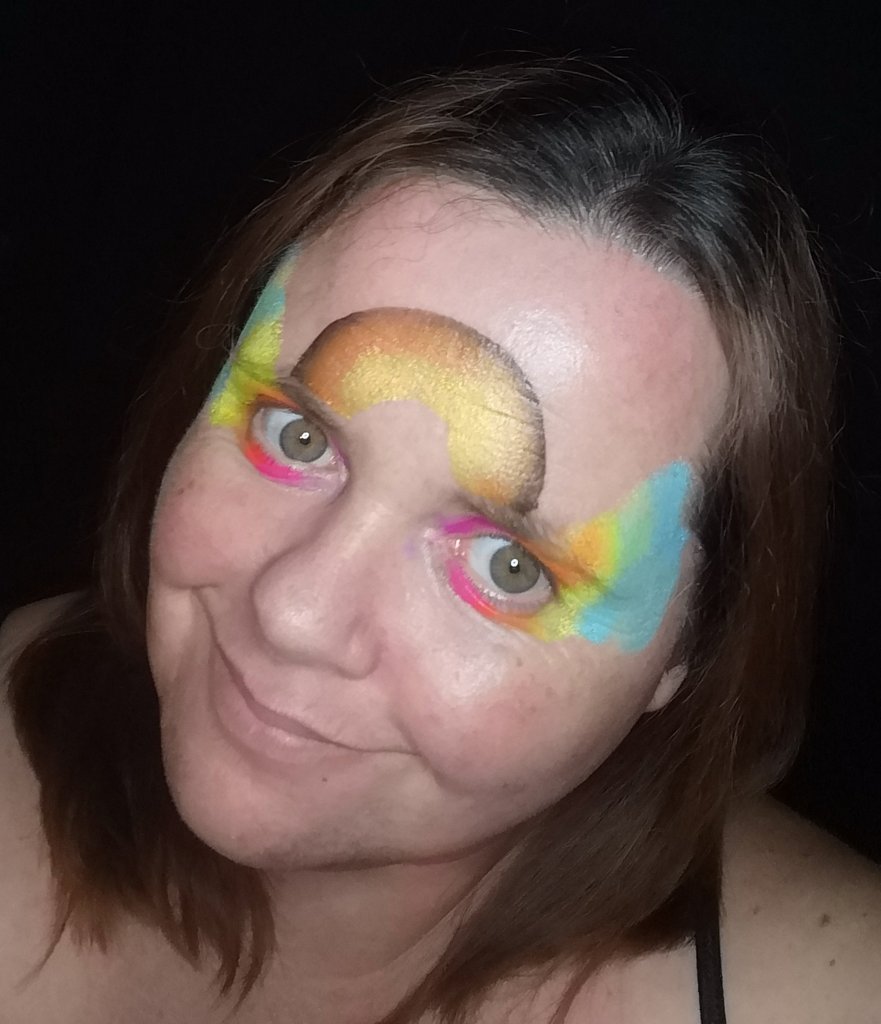
Using Fusion’s Rainbow Explosion Pallette, you can easily recreate this design. Using the brown onestroke in this set, you need to paint Mr Ted’s head. Load the 3/4″ long bristle angled brush you need to paint half a circle. Begin at the inside of one eyebrow, finishing at the other. Using the eyebrows, you’ll ensure the design is centred and balanced.
Step Three Ted’s Muzzle, Ears & Paws

Now, using the large angled brush, (which is slightly smaller than the 3/4″), load again, using the brown onestroke from Fusion’s “Rainbow Explosion Pallette”. Paint another half circle in line with the first to create Mr Ted’s muzzle. We can then add Mr a Ted’s ears and paws. We do this by keeping out half circles very tight. We keep the heel of the brush centred and pivot the brush, letting the longer bristles on the outer edges of the brush do the work.
Step Four; Finishing Touches
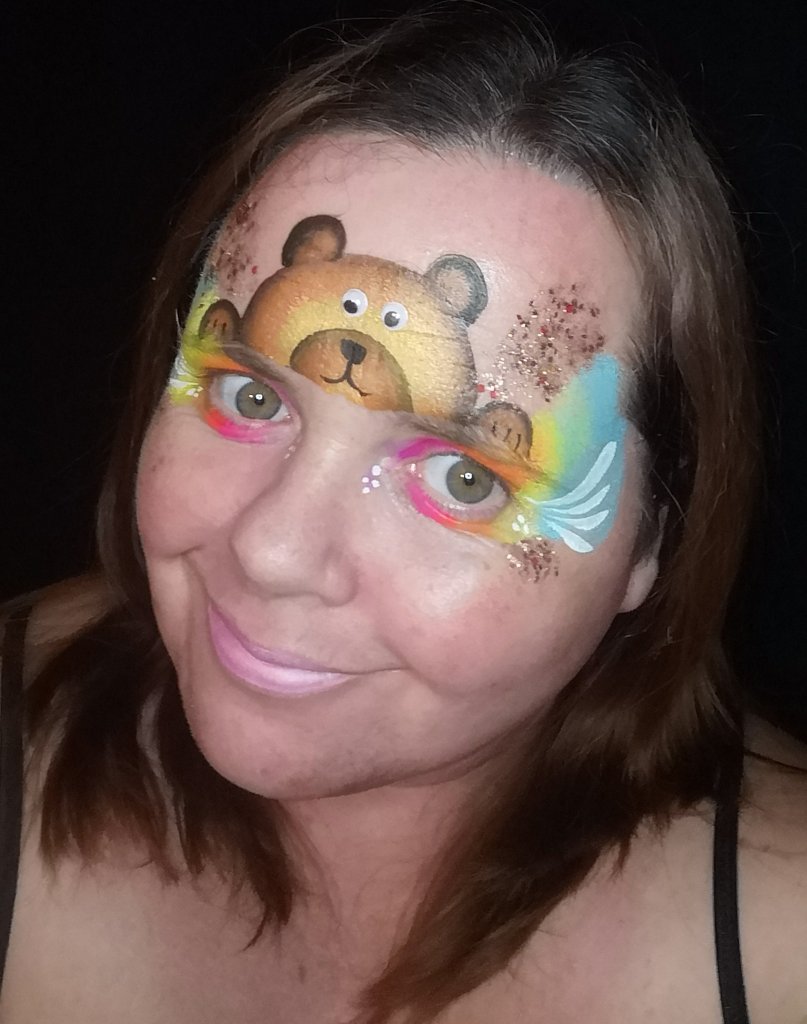
As I stated, I hate painting eyes. Every single time I try I’m left feeling really deflated and annoyed at myself. So now, I cheat! I love using googly eyes. The kids live the googly eyes. I buy them from any craft store, and I fix them to my design using any cosmetic grade glue. Please remember they pose a choking hazard to any child under 3 years!
Using Fusion Black and a Number 3 Round Brush, I will add a muzzle and nose to Mr Ted, oh! and a few claws to each paw. (simply 3 lines!) A few tear drops at the corner of each eye just add to the balance of the design. The tear drops are created with Fusion white paint and a number 4 round brush. A smudge of chunky glitter and your design is complete!
Bonus Steps-Let’s Make Mr Ted Festive!
Shhh…. We won’t tell…..
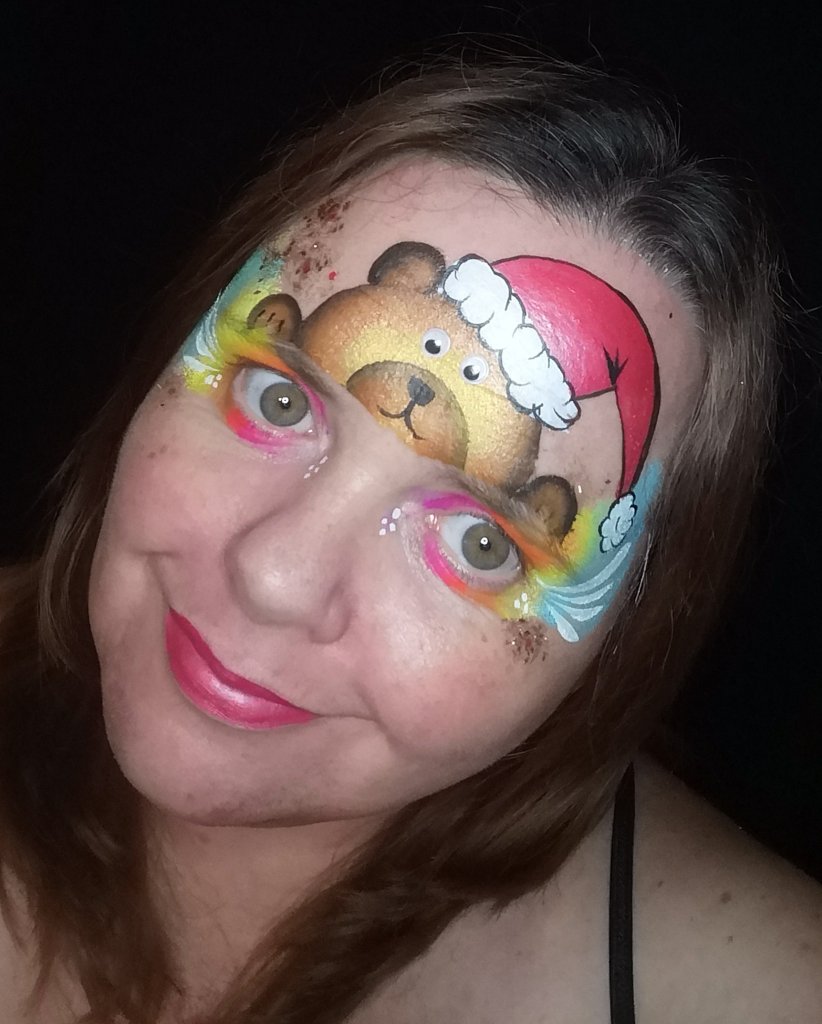
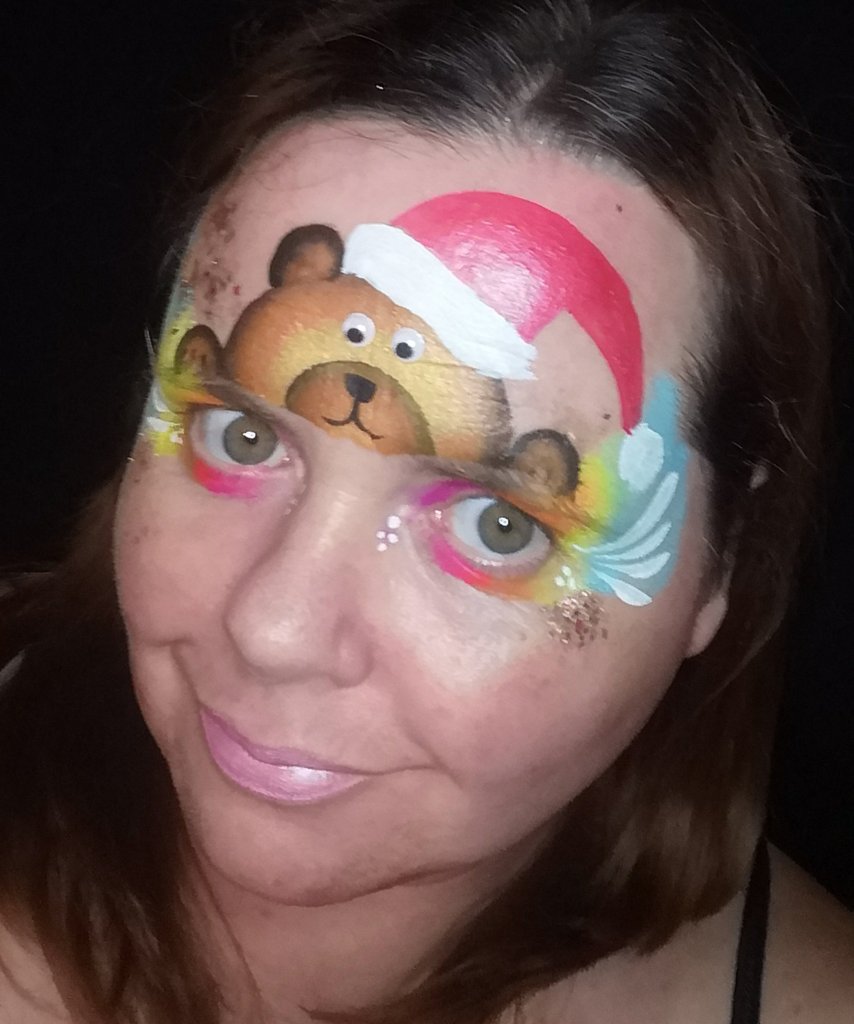
You can really have fun with this design and make Mr Ted a bear fit for any occasion! He looks great with a Santa’s hat for your Christmas Board, but can easily replace that with a green hat for St Patrick’s Day! A black hat with a gold buckle will make him a Thanksgiving Bear or even adding a few hearts around him will make sure he’s on your valentine’s board! One design, but alittle wipe with a damp sponge on one ear will make this bear one to stay on your board!!!
Adding A Santa’s Hat
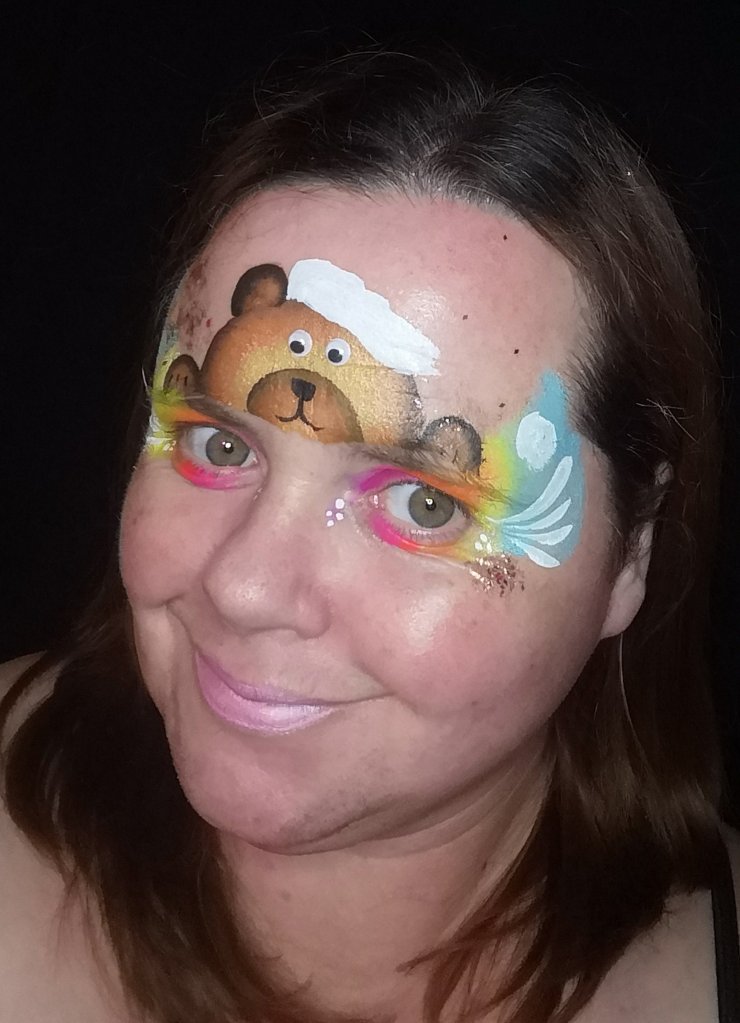
You could use a small finger dauber dipped into some fusion white to create the Santa’s trim and ball. Or, using a number four round brush you can quickly paint them in.

Using the Fusion Black with a number 3 round brush, quickly outline your hat, trim and ball. Remember to always begin on the tip of your brush, slowly adding pressure as you paint your curves, bearing completion of the curve, alleviate the pressure of your brush, finishing once more on the tip. By doing this you’ll create perfect linework, with thin to thick to thin lines that lift your work to a much higher standard. It’s important when outlining, especially with a darker colour, to ensure your paint consistency is correct. I like to work with an inky consistency, this will ensure I’m not loading my brush constantly, which allows me to paint consistently creating a magnificent flow.
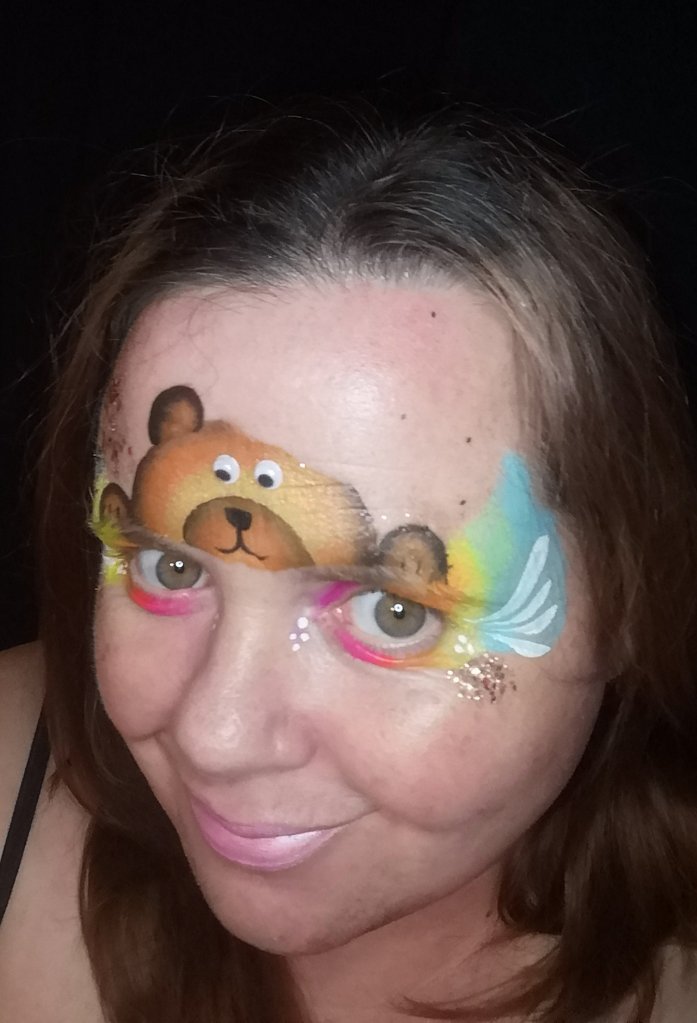
This is such a simple, yet cute design which is constantly on my board. It’s one I can change up whenever I feel I’m able. I can add extras to it such as hats and other additions, such as bows. I can change the colour of the bear if I wish, going from pink, blue, purple even green! The sky truly is the limit! This design really has no constraints, and will be on my board for many years to come!!!