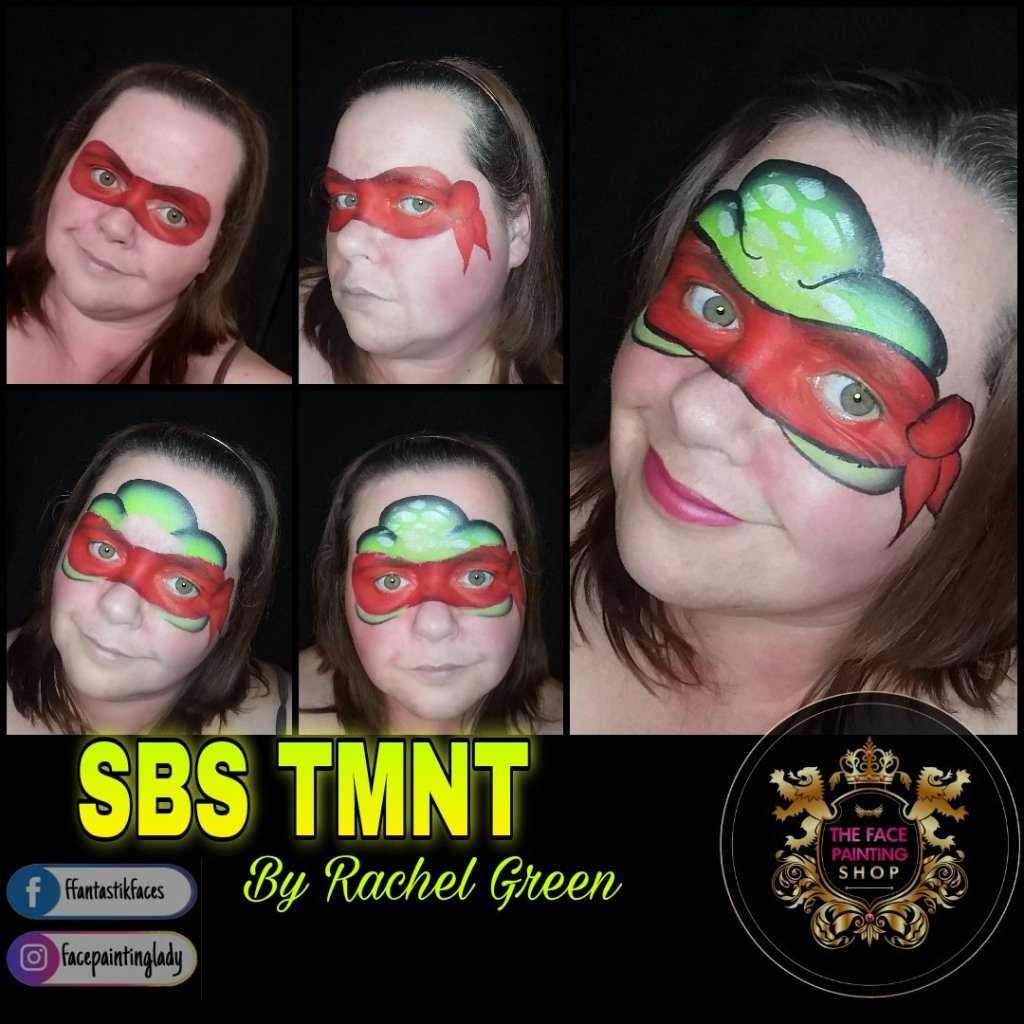
A Step By Step Guide
This step by step will be showing you how to recreate the ever popular Teenage Mutant Ninja Turtles design. For those of you who don’t remember them or unfamiliar with them, they’re are simply 4 Turtles who having mutated now have Ninja skills. They are Four characters. Leonardo, Donatello, Michaelangelo and Raphael. Each have their own eye covering, Blue, Purple, Orange or Red respectively. So, now you know who they are, let’s paint them! 😂
Step One Eye Mask
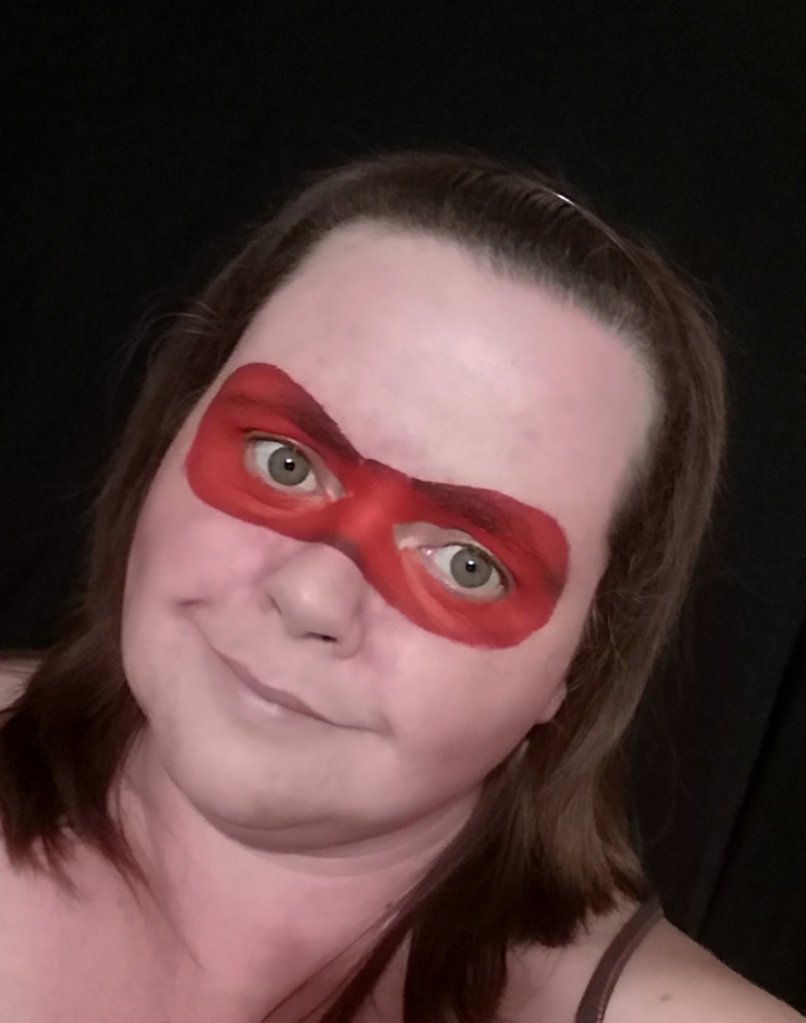
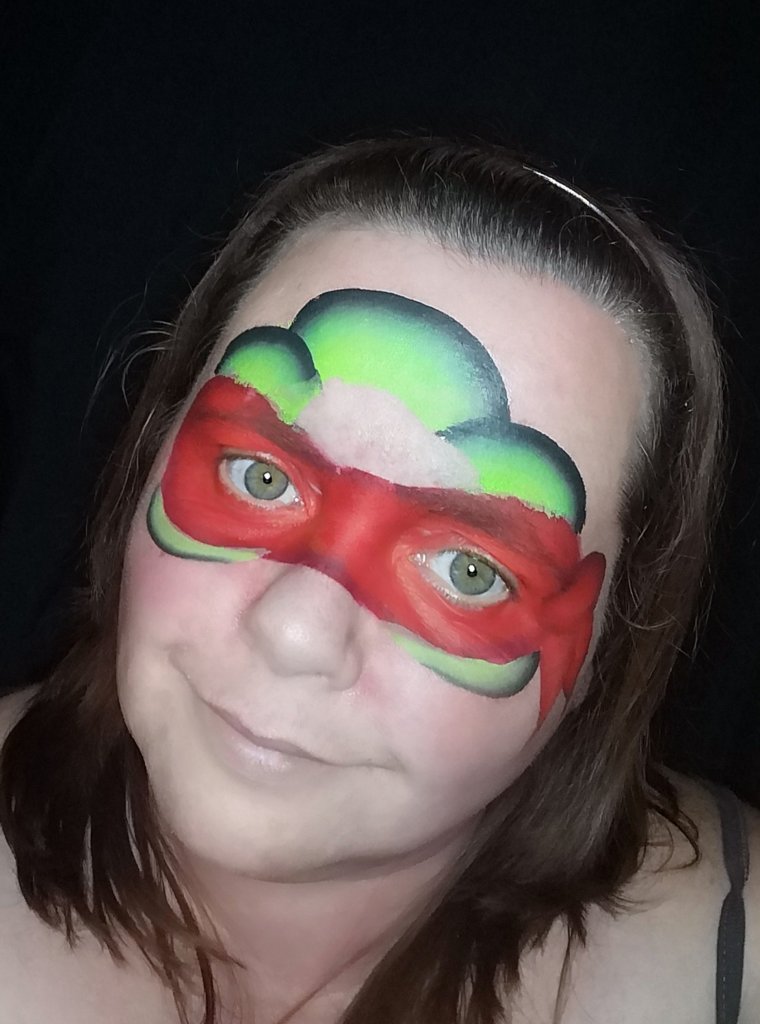
I begin by loading up my 3/4″ #pinktips angle brush with red. You can use a onestroke from the rainbow pallette. Starting in the centre, I take my brush around the eyes, using the eyebrows as my guide, this way my design will look balanced. I often use the face’s features to help plot my design. Boy’s in particular, usually aren’t keen on any brushes near their eyes. They’ll often squeeze their eyes tightly shut or will move away. I will pause when this happens and show them what they’re doing. I’ll srew my eyes tightly shut, which will make them laugh and often relax them. I ask them to gently close their eyes, like they’re pretending to sleep. This usually allows me to be able to paint this area alot more easily. 0
Step Two; Side Knot
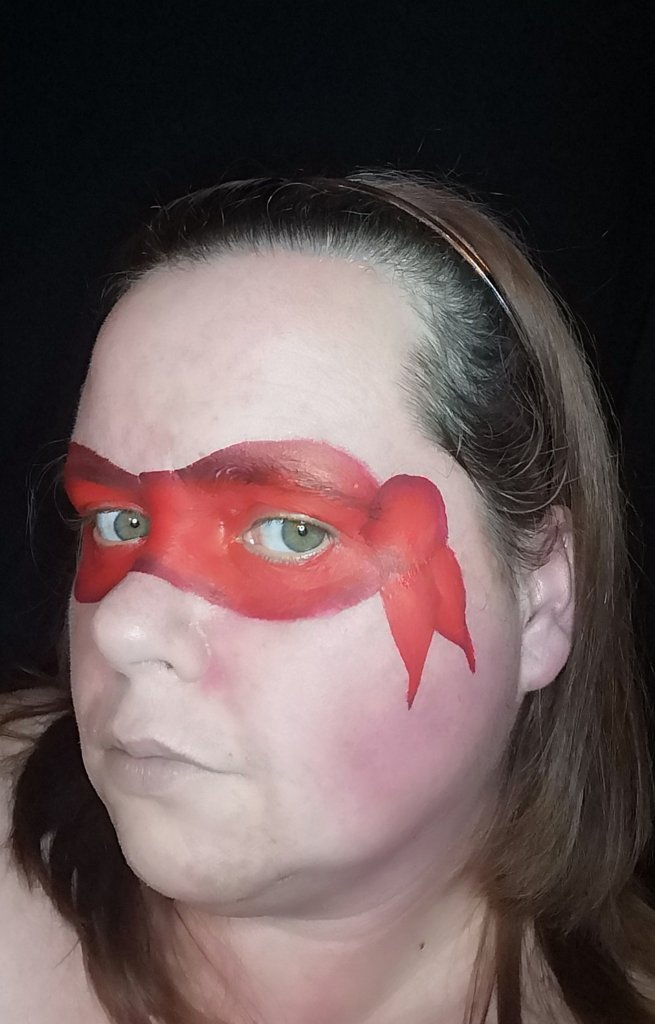
Using the 3/4″ #pinktip angle brush, I quickly paint a circle. I’ll load my brush, keeping the darker colours towards the longer bristles, this will create our darker edging. Then I’m ready to create the circle, I do this by pivoting my brush, so keeping the short side of the bristles at the centre, I twist and move the longer bristle side to create the circle. By ensuring the bristles stay in situ in the centre you’ll create a perfect circle. Once the circle is painted, two upside down petals will act as the ties. Please don’t panic if you feel at this point your colours aren’t popping or you can’t tell what is what, once we outline in black you’ll see the detailing!
Step Three; Turtle Forehead
Using the onestroke green in the Rainbow Pallette we can create the Turtles head. Remember when loading the 3/4″ angle #pinktip brush to keep the darker greens on the outside of the brush, so we have the darker edging. Firstly, paint two arches above each eyebrow, then another arch above these, centre face. Two quick sweeps under the eye mask, on the apples of the cheeks, will create the structure of our head. Using the bristles with the lightest green on them, fill the bareskin left green.
Step Four; Forehead Texture
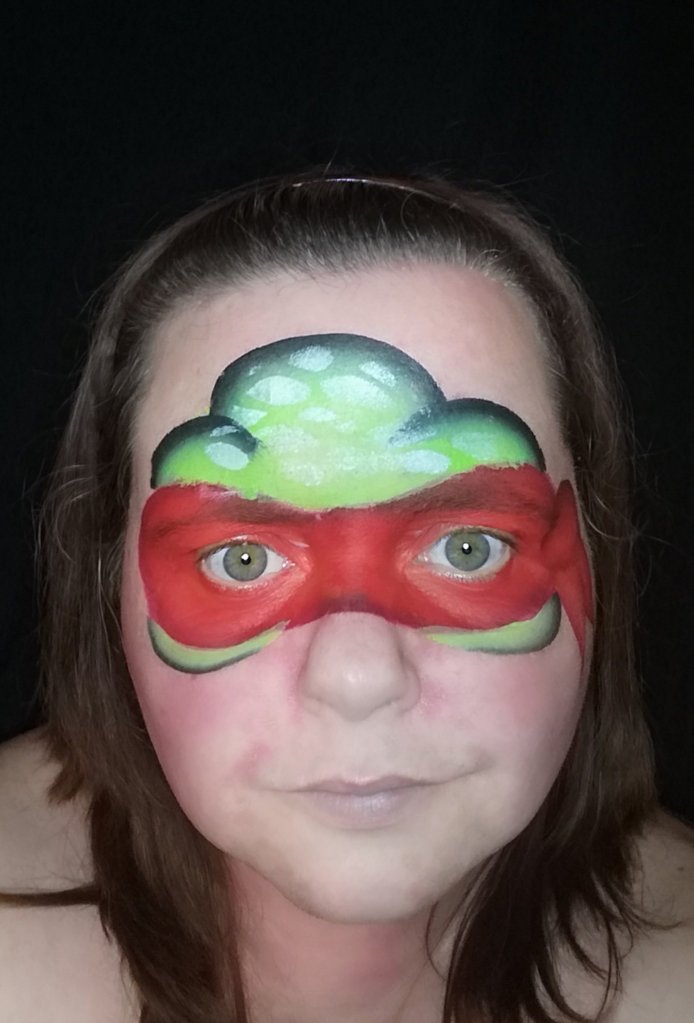
Once you have filled in the head, you can add texture using stencils. I quite like Stencil 1005 from The “BAMS” range. This is a completely optional step. If you’re pushed on time, you can skip it and I promise you, the little one you’re painting will still be thrilled!
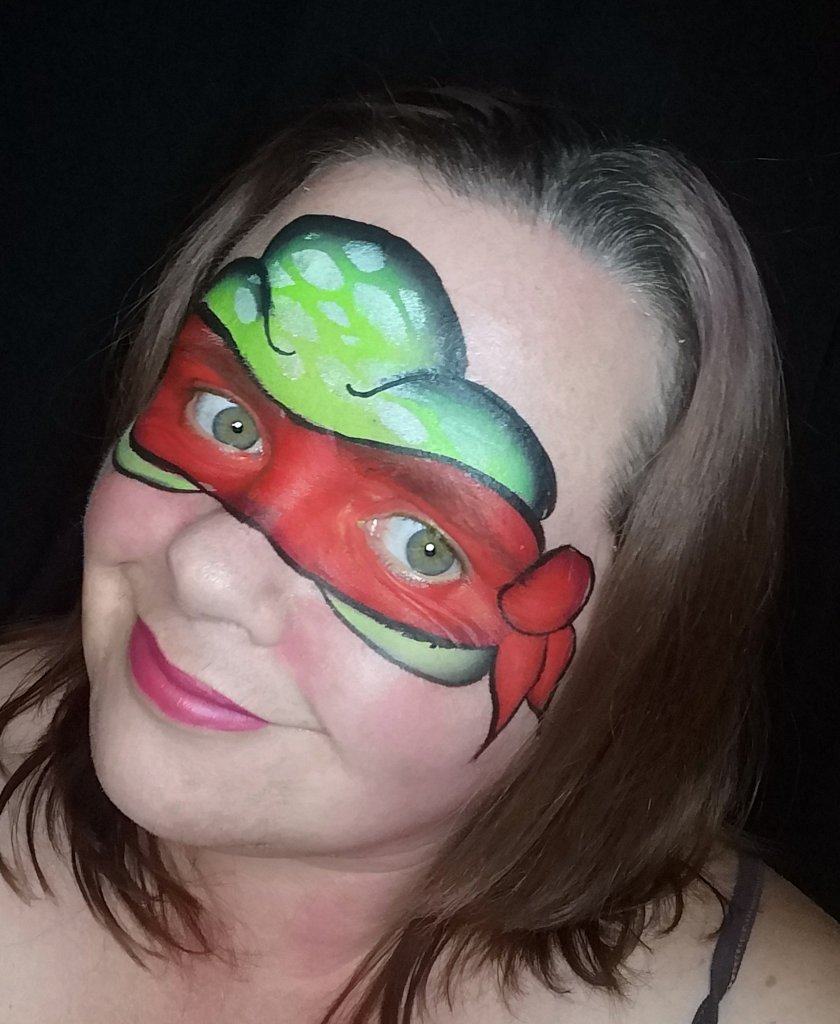
Step Five; Outlining & Finishing Touches
A quick outline of the mask and ribbon with Fusion Black, using #3 round brush really helps make the mask pop. The outter part of the design doesn’t require any outline details, as the darker edge of the green gives a great finish! The most I do, is add a downward curve above both eyes, to give the illusion of furrowed eyes. With this design I really do believe less is more, and with minimum brushstrokes, we have a great design which has such depth and brightness that it remains popular with the client.