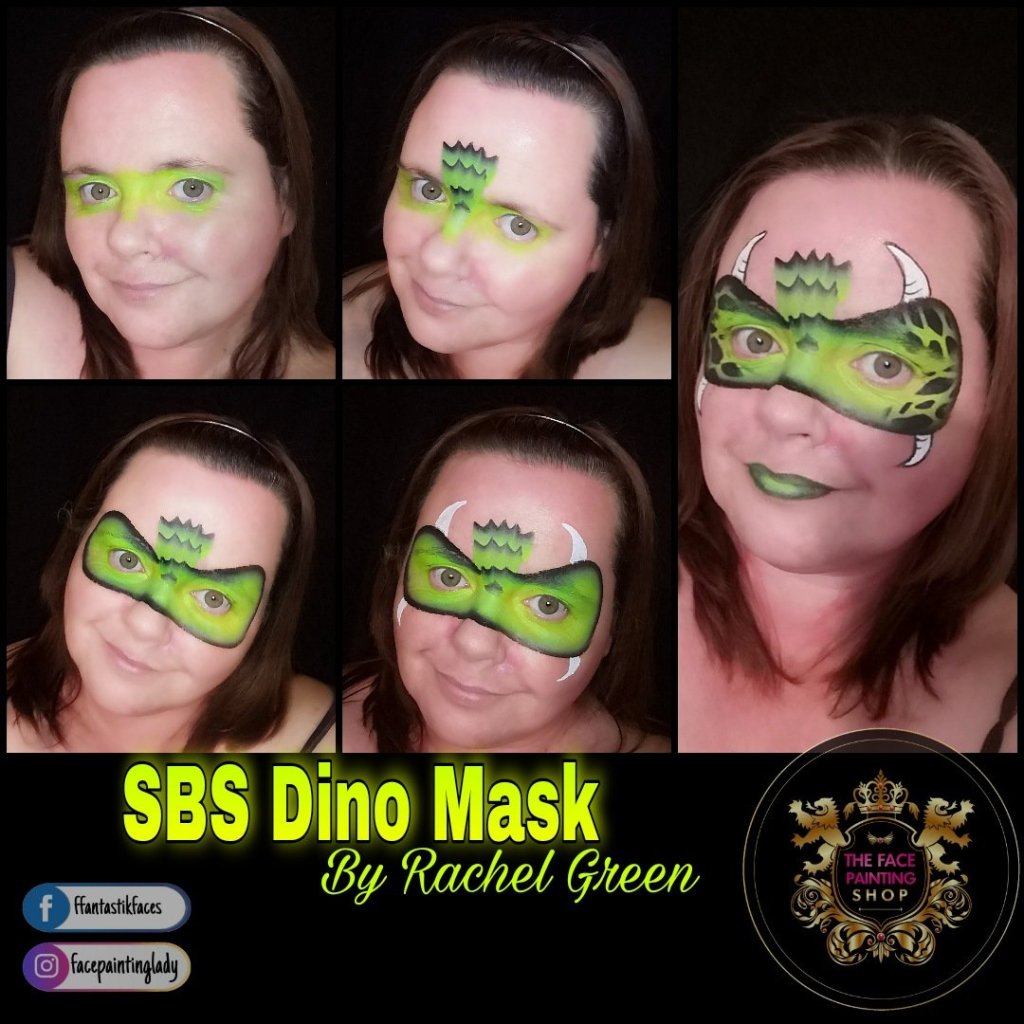
A Step By Step Guide
In my previous blog, I walked people through a selection of products from The Facepainting Shop. These products will allow you to produce top quality designs, without spending thousands on your initial set up or reset up in some of our cases!
I’ve concentrated on the Rainbow Pallette by Fusion today, in particular the green one stroke. This will be one of the most well used cakes in your kit.
I’ve recreated a Dinosaur Mask. This is a great one for the boys, especially younger boys too, as it’s quick and easy. It’s versitile too, many times this has covered dinosaur, dragon and monster! It’s all about confidence and letting the little one and their parents know you gave just the design!
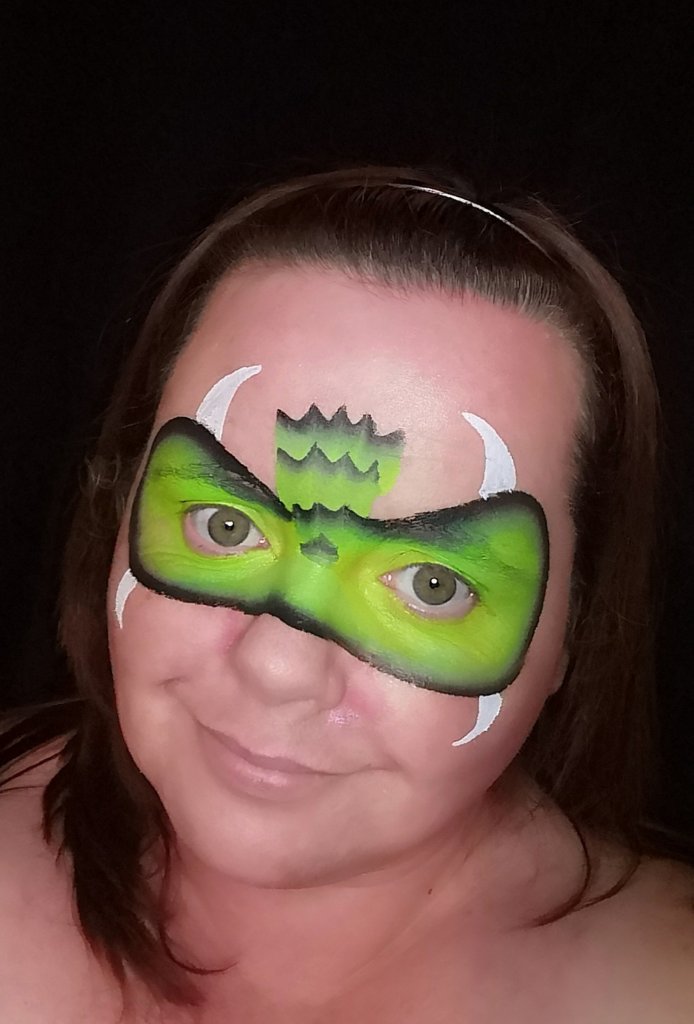
Step One; The Eyes
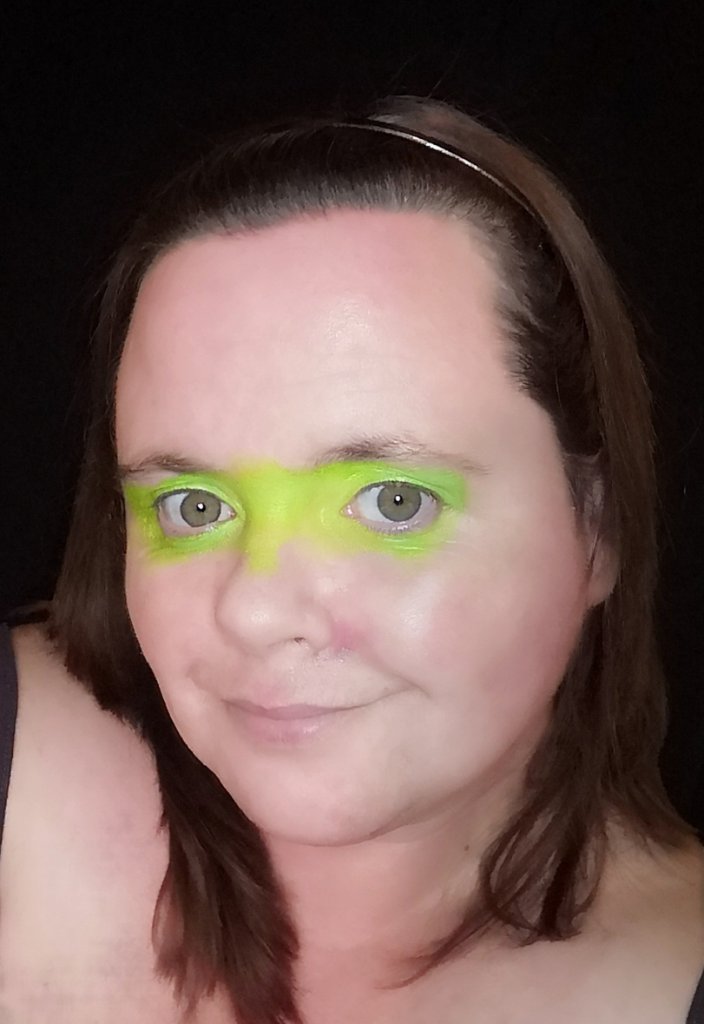
I’ve always began this design with a quick application of green to the eyes. I do this for many reasons; speed, hygiene and comfort.
Many of the little ones who select this design are usually between 3 and 6. In my experience young boys hate anything near their eyes. Especially brushes and other objects. A quick dab with a sponge loaded with a base colour just relaxes them quickly and they begin to enjoy the experience! Ofcourse, post COVID-19, many of us will be looking at limiting the amount of brush work around the eyes and nose area. I carry hundreds of sponges in my kit, as its important to only ever use your sponge once on the face, never re-dipping into the paint. Once you’ve mastered loading a sponge correctly it is possible to cover a whole child’s face like this.
Step Two; Focal Point
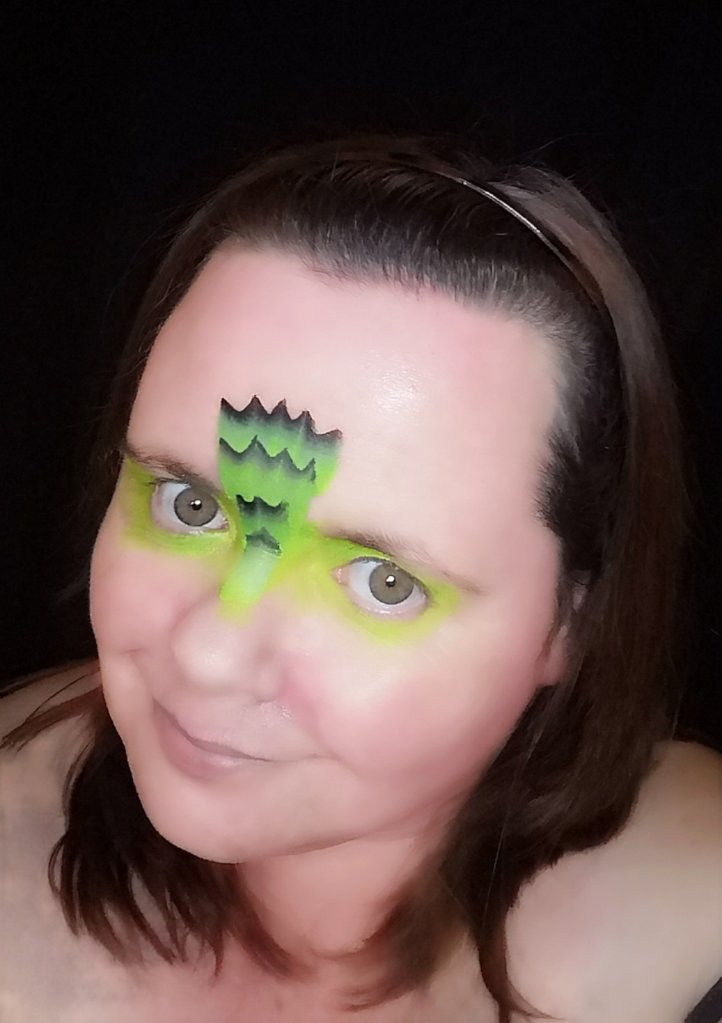
I then use the green one stroke in the Rainbow Pallette from fusion. I prefer a longer bristle brush, so would use the 3/4″ long bristle angle brush for application. Activating the paint and obtaining the optimum amount if paint on the brush is paramount. All individual colours need to be clearly visible, usually coming up to 3/4 of the way up the bristles. Starting from the top, work inwards, creating Us overlapping to create the focal point of the design.
Step Three; One Stroke Outline
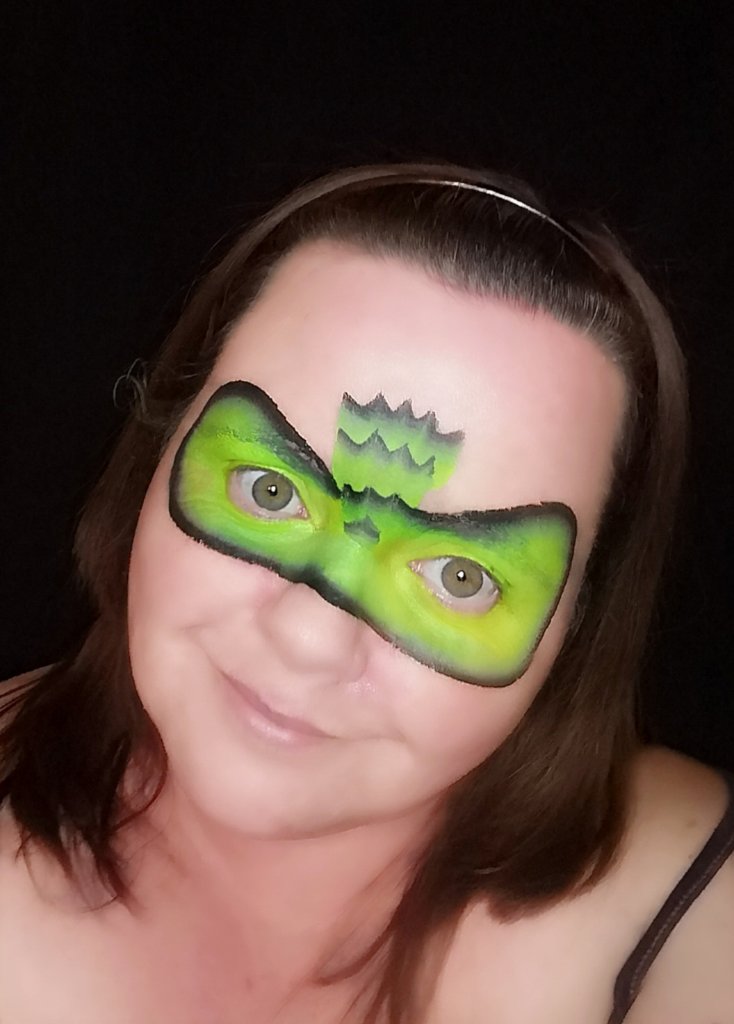
Starting at the focal point, between the eyebrows paint around the eyes as above. Ensure the darkest colour is facing outwards and I personally use the eyebrows as my guide. The allows me to be quick and effecient, whilst maintaining good symmetry. By keeping the darker colour towards the outer edges, outlining in black becomes more of a choice than a necessity. If your queue is heaving and you’re feeling under pressure, it’s one step you can skip!
Step Four; Horns
I use the number 3 round brush from The Facepainting Shop’s #pinktips range, to paint the horns. Paint consistency us key here, ensure you have fully activated your paint, I tend to work the water into my paint until I have the consistency of melted ice-cream. I then begin at the tip of the horn, on the very tip of my brush and as I curve down towards the mask I’ll increase the pressure I use on my brush, causing my line to become thicker, I repeat this on the other side of the horn to create a horn that has a crisp point with a thicker base. If you find you’re pushed for time or the child in the chair is not sitting well, you can simply paint two horns, which will still look great, giving a balanced and professional design.
Step Five; Finishing Touches
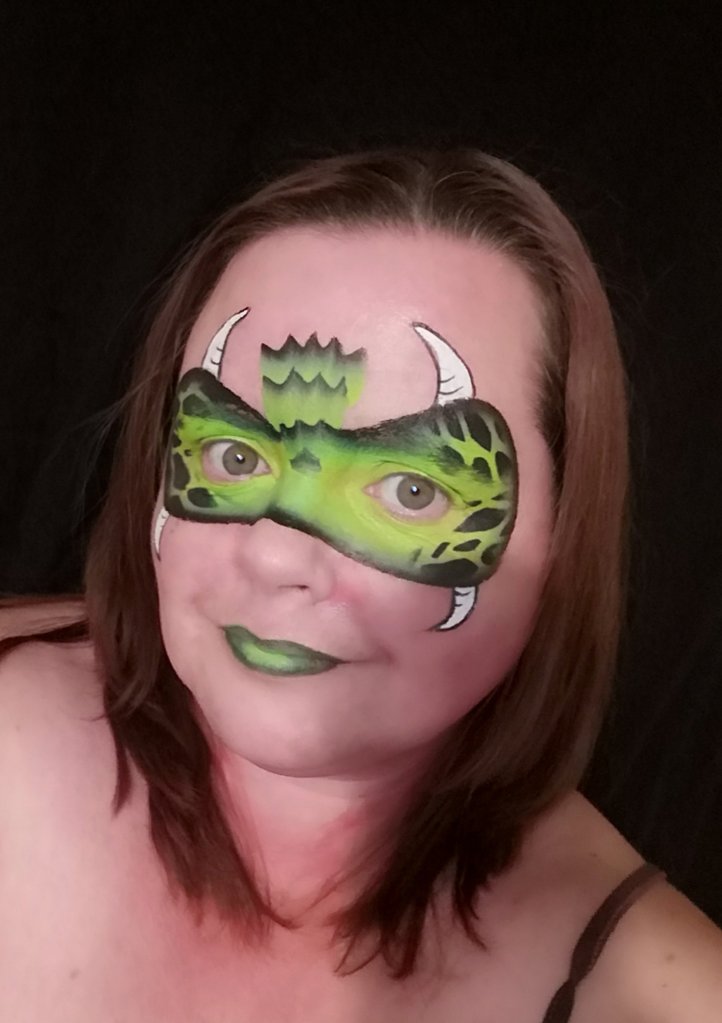
I use a reptile scale stencil, with alittle of the darkest colour from the edge of your one stroke. I apply this using a finger dauber. I know many beginner painters who are nervous of stencils, often fearing by adding them they’ll ruin the whole design. They experience bleeding of colour or smearing. I too used to have the same issues! I found once I discovered finger daubers and got my paint consistency more on the dry side they worked fantastically!
Work Smart, Not Hard!
Often on the job, we can easily begin to feel overwhelmed and out of our depth. The queue feels a mile long and every other parent is demanding or insistent you try to recreate a 3 hour design from Pinterest in 3 minutes. It’s important during these times that you take a moment to reassess your situation. Many of these designs I’m sharing with you are easily adaptable for such occasions. You can drop down to 2 horns, or even miss out the scales if you’re really pushed. By using a one stroke with a darker edge, you are literally outlining as you paint! Outlining just the horns will also save you precious moments. I’m sure many of us will be rusty when we return to facepainting, but often that nervousness and anxiety falls away with the more faces you paint, I promise!
We’d love to see you’re attempts at any of the designs we’ve shared. Please feel free to share in our Facebook group or Instagram page.
